Showing posts with label Crafts. Show all posts

Sunday, December 5

Craft: Spinning Tops


These spinning tops were so fun to play with and easy to make. My daughters really enjoyed both making them and playing with them on a recent craft day.


My oldest daughter's top

The tops are made from cardboard (we used a cereal box) a pencil, white paper and glue.


I covered the cardboard with white paper and allowed it to dry. For a colorful top, we divided the circle into sections (like a pieces of a pie) with a colored pencil or crayon and colored each section a different color.


My youngest daughter's top


Next, we poked a hole into the center of the top with a sharpened pencil. We used pencils between 3-4 inches tall.


The tops will draw lightly on the surface where they spin (due to the pencils) so we used paper underneath.


The tops were spun with either the thumb, index and middle fingers or by using the palms of the hands (one palm sliding against the other with pencil in between).


We enjoyed playing with them and I left them out in a space to be enjoyed throughout the week.

Also, if you happen to be looking for wooden tops check out the Wooden Wagon's fun collection of wooden spinning tops.

Sunday, November 14

A Recycled Can Craft: Hammered Candle Holders

With the change of the clocks and some dark November skies, we have been using candlelight even more in our home. I find that when it is dark and cold the light of a candle brings a sense of peace and warmth; a reason to appreciate darkness. These recycled can candle holders we made glow wonderfully in a dark room and they are fun and so easy to make.


The candle holders project a beautiful flickering light onto the wall behind them.


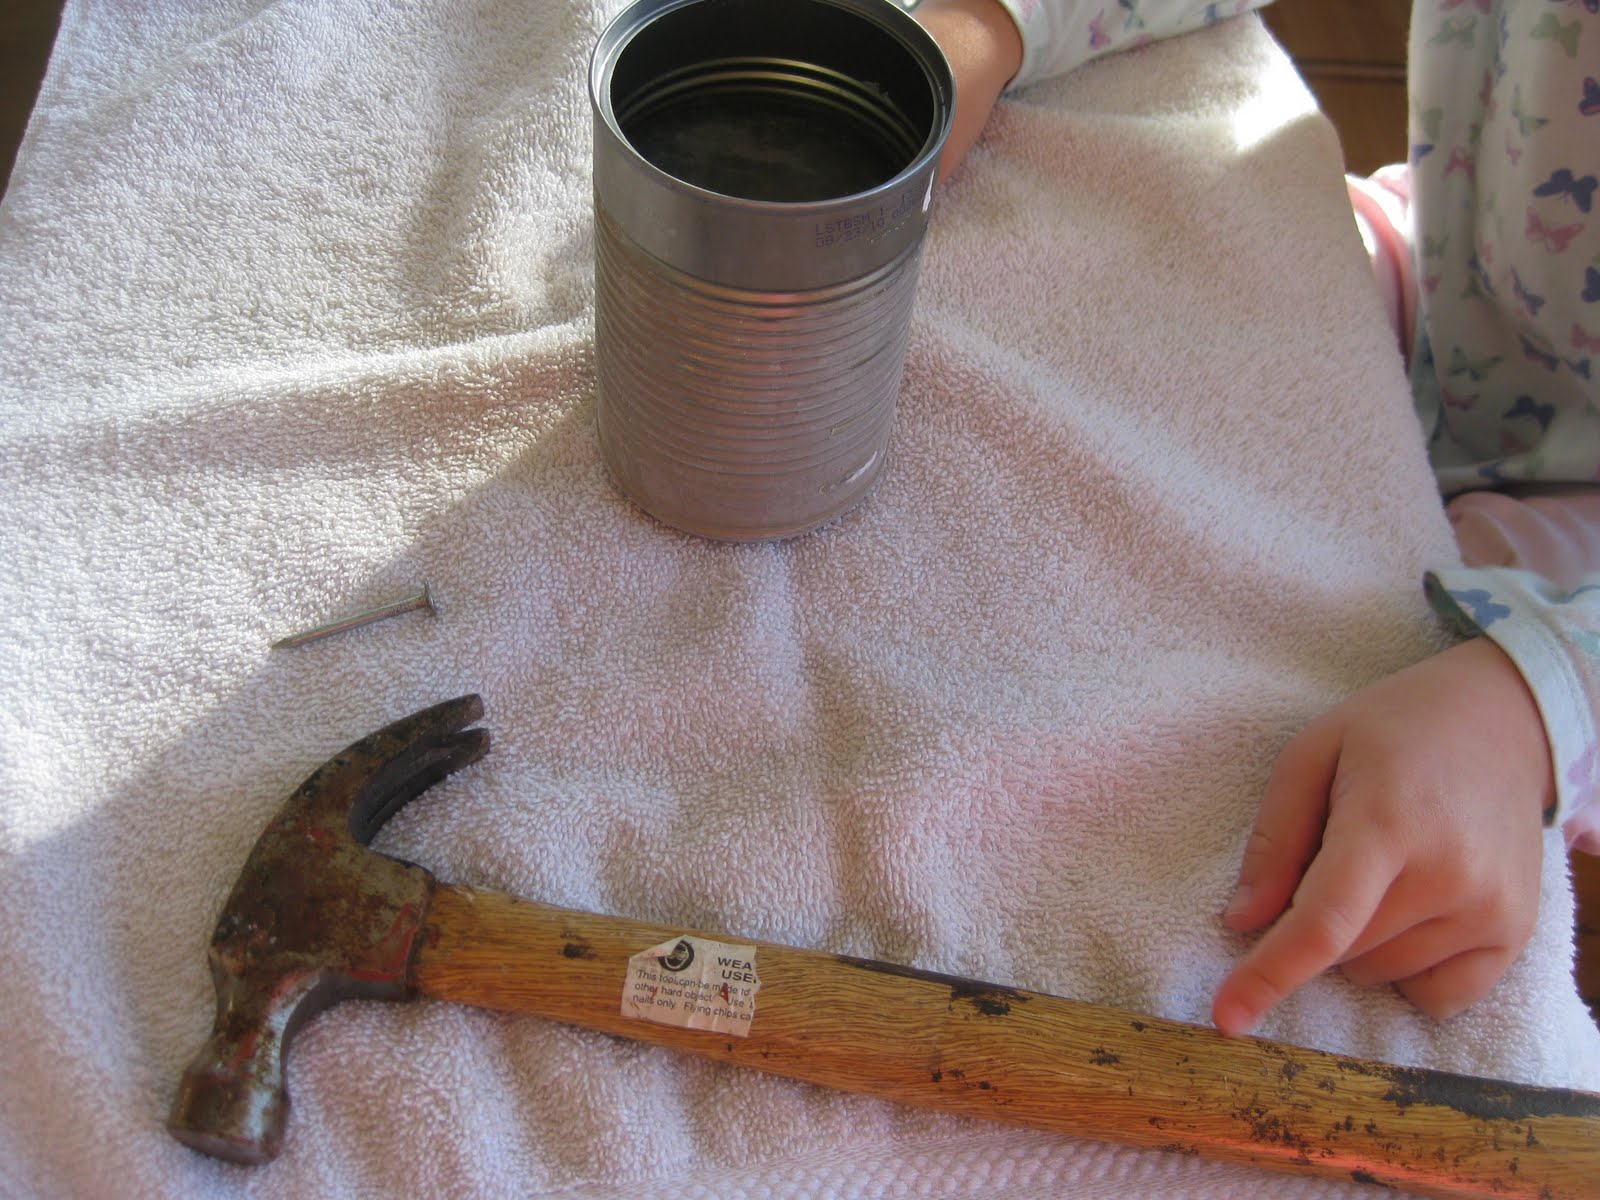
To make the candle holder you will need a small hammer, a nail (the larger the head on the nail the easier for the child), gloves and eye wear for safety purposes, a towel, and a marker. A few days in advance fill the can (about 3/4 full) with water and place in the freezer. The ice will prevent the can from denting during hammering.


If you plan on making a shape or design, use a marker on the can to plot your design.


Use the hammer and nail to make holes in the can. We began by working together to make the heart- I held the nail in place and my daughter hammered. Later, she made holes independently over the entire can.


That is my hand holding the nail for my youngest daughter while she used the hammer. After she became familiar with the process she could work independently, and made them randomly all over. She enjoyed going back and "making the holes larger" by hammering them more. They really loved this project especially the use of the hammer. I enjoyed watching the concentration and persistence of their work.


If you do this project with your child, be aware that once finished, the inside of the can will have sharp points (because of the holes) so don't allow a child to reach inside and using a long match (or a piece of uncooked spaghetti) to light the candle works best. Also, the can radiates heat so be sure to place it on a heat resistant surface. We used small tea light candles in the bottoms and later moved one to my daughters' bedroom with a battery operated tea light (used for jack o lanterns) to serve as a night light.

Tuesday, October 26

Little Ghosts: Finger Puppets


We made these little ghost finger puppets for some Halloween play. All that was needed was fabric, string, a colored pencil or crayon and stuffing.


We started by cutting a piece of cloth and my oldest daughter then drew a ghost face with a colored pencil.


For my youngest daughter, I drew the face and she cut around the edges to make it "spooky" looking.


We put a piece of stuffing in the middle and then cut a piece of string. I tied the string around the fabric and then my daughter put the ghost on her finger while I tightened it to make sure there was enough room for her finger to fit in.


Then we had a puppet show!

Wednesday, October 13

Watercolor Painting Wood Cutouts


I recently came across these wood cut outs in my materials closet. Since I have been interested in watercoloring wood and had no plans for these wood pieces, we gave it a try.


We put them on the painting board, got out a jar of water, paints and a cloth to wipe off the brush after rinsing. Both of my daughters enjoyed painting each shape.


After they were painted we let them dry.


I thought about adding a magnet to the back to put on the fridge or creating a mobile, but then I found that they fit in our postcard holder.


I love the shades of watercolor paints on the wood. Cheerful, warm, soft and inviting.


They now sit on top of my daughters' bookcase and the colors are lovely to look at.

Tuesday, October 12

Embroidery Hoop Fall Sewing


Embroidery hoop sewing is an enjoyable activity for both my daughters. We use the hoops for sewing buttons onto fabric, free hand stitching and with my oldest daughter, stitching an image. I create the image so that it is simple and usually reflects the season.


This was the image of an acorn I drew with pencil onto a piece of felt. We use embroidery thread and either a children's needle (found at craft stores) or a large sewing needle (if I think it is too sharp I just file it down a little).


After it is finished it is left out as a fall decoration for everyone to enjoy.

Monday, August 9

Craft: Turning Pinecones into Berries


Usually when I am setting up our nature table for a new month, I am thinking about how the upcoming month is reflected in nature. I am remembering what gifts nature had given to us the years before and wonder what gifts might be new to us this year. What we will see, hear, smell, touch, and taste throughout the month? As I changed the nature table from July to August I thought about how enjoyable it is to pick berries on our walks this whole month long. There seem to be wild raspberries and blackberries everywhere we go and my daughters stand for long periods of time going through the bushes and finding them. So, to add to our August nature table, we made our own berries that will last the month long.


We picked through our pine cone basket (used for play) and found some small and medium sized pine cones. After we cut lengths of yarn, I started by wrapping the yarn a few times around each pine cone.


I helped each of them wrap the pine cones with the yarn, sometimes holding the pine cone while they wrapped. At the end, I tucked the yarn under and hot glued felt leaves onto the top.


And now we have berries for our nature table!

Monday, May 24

Craft: Stick Snakes


On craft day we made some stick snakes using a small stick, paint, thread and beads.


Our sticks were found on a walk. They had been weathered so no bark remained on them making an easy surface for painting.


We used both q-tips and paint brushes. My daughters preferred the brushes because it allowed for more paint.


The paint was regular washable poster paint.


After the paint dried a few hours later, my daughters chose a color of thread to wrap around the snake. We used small beads for eyes, which were glued on with craft glue and I used a hot glue gun to glue thread on for the tongue.

They are great for gentle play at our nature table, although on occasion they have been found hiding in a house plant or two =)

Wednesday, May 19

Leaf Rubbings


We've always done leaf rubbings in the fall but with all the new plant life out now I thought leaf rubbings would be a great way to appreciate the different plants and leaf shapes we have around our home. A short walk outside around our home was all that was needed to find a good collection.


With the collection scattered around the table we used crayon rocks and crayon blocks for the rubbings.


After a little trial and error, I found the best way was to lay the leaf on a scrap paper and use a small square of paper for the rubbing. The small paper square allowed my daughters to find the leaf easier than if it were hiding under a whole sheet of paper.


They both loved the process of leaf rubbing and worked for a while on this craft.


When we finished we noticed that some of the leaves looked like the shapes of insects. We chose a few to turn into insects and had fun with that too.

Wednesday, May 12

Coloring With Dandelions


We tried our hand at coloring with dandelions recently. When I told my daughter we needed to pick some dandelions outside so we could color with them she was very interested.


Using a basket, we chose the biggest ones we could find. This picture doesn't show it, but the dandelions are out in full force where we live so there was no trouble finding some.


We used watercolor paper because of the amount of moisture in the dandelions. I asked my daughter to draw a large shape on her paper. Next, she used the dandelion to color it in.


After it was colored in she added the details. After a few days the dandelion color faded and remained a very light yellow.

Thursday, May 6

Craft: Rock Sculptures


We always have a rock collection going on somewhere in the house. I wanted to use some of those rocks for a craft and came up with making rock sculptures. Sometimes when we are out in the woods on a trail we will come across a stack of rocks made by another hiker. The rocks are used as trail markers, the start of a trail or a fork in the trail, and can also be found at the top or peaks too. They are also referred to as cairns. Before starting this craft we went to the river to collect some flat rocks which would be good for stacking.


First they experimented with just stacking them. Which ones worked best for the base and which ones seemed to fit together better.


We used paint brushes and tacky (craft) glue. All that was needed was a lot of glue and a little patience.


The glue held nicely after it dried.


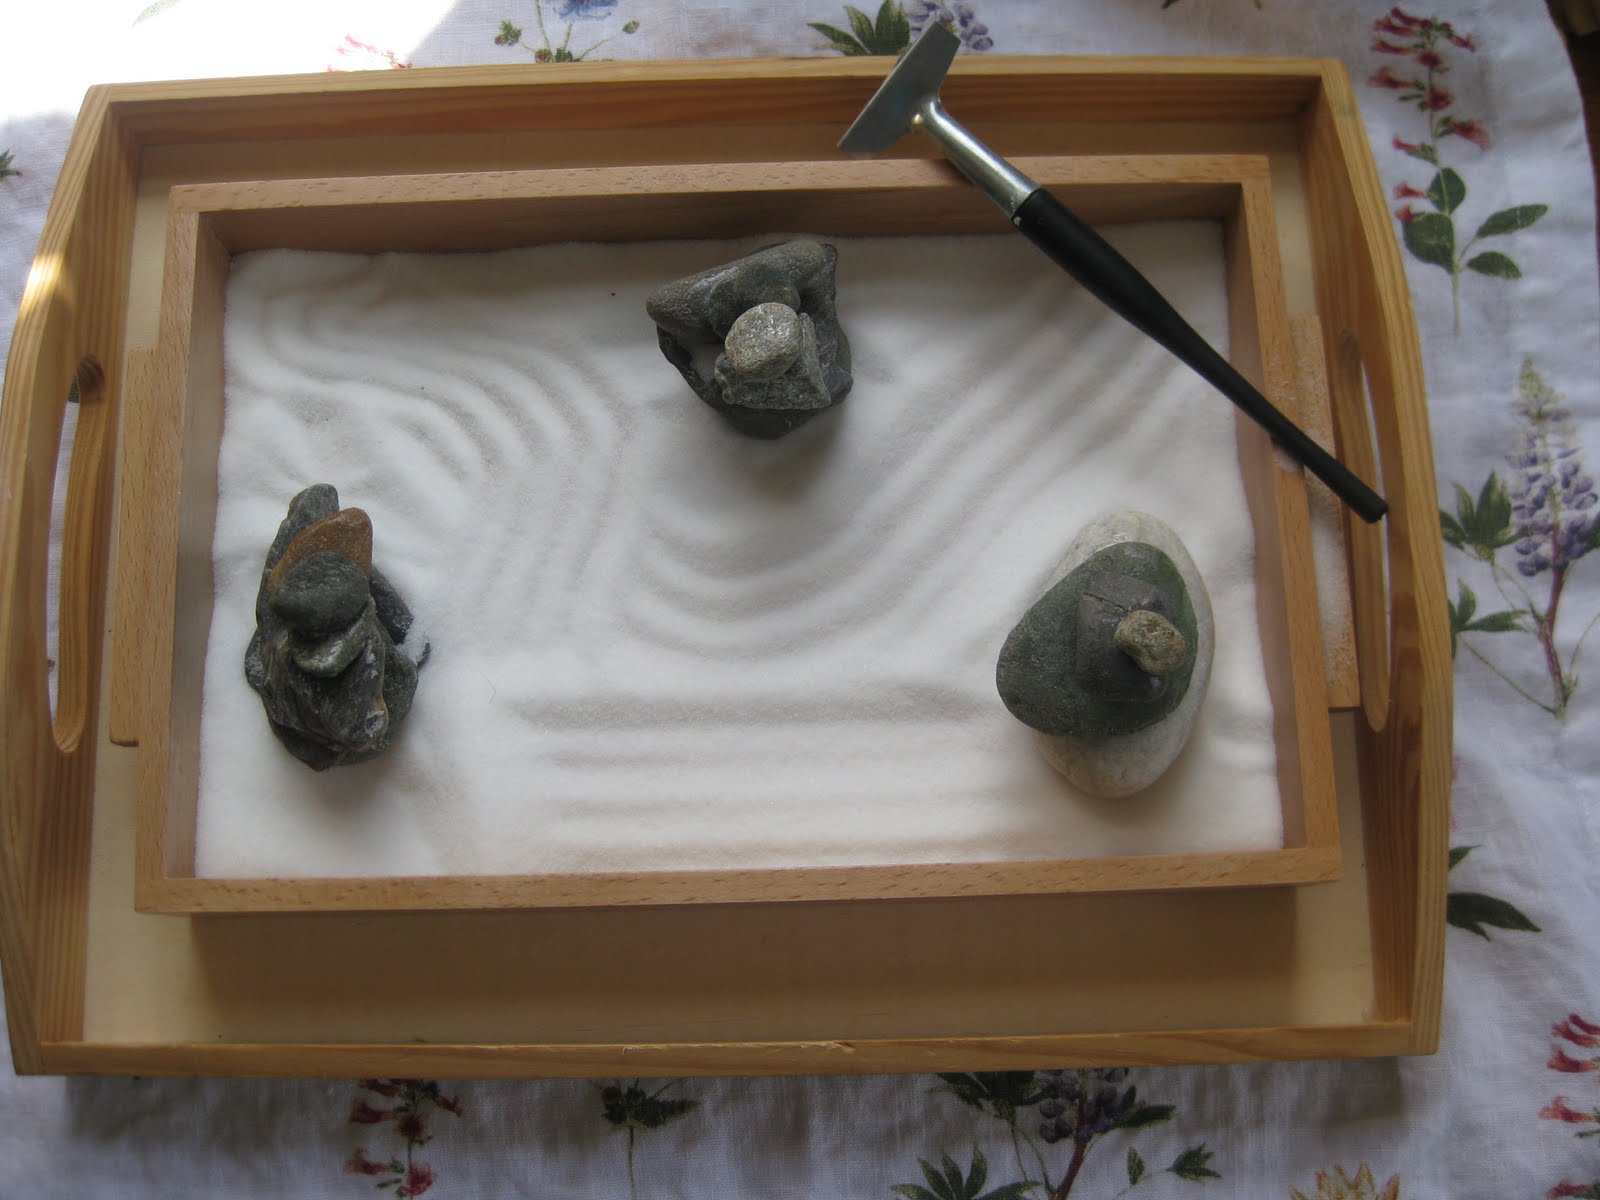
I put them in with a tray of salt for the girls to play with. We found a little rake to use.


They love playing with the salt (although be sure your little ones don't have any cuts on fingers.)


We called it our rock garden. I found the best way to contain the salt was a tray inside a tray and a cloth napkin under that.